

This post may contain affiliate links, which means I may earn a small commission at no extra cost to you if you make a purchase through one of these links. Thank you for your support! Read full disclosure.
Home-sweet-home has never looked better than when it is clean and tidy. Cleaning your entire house from top to bottom can be incredibly daunting – not only does it require energy, but also a huge portion of time that could otherwise be spent on other activities.
To make spring cleaning much simpler, you should use the expert tips for organizing and cleaning each room or appliance one at a time. This way you’ll feel like your home is sparkling in no time!
Whether you just have a few moments to give your living space an upgrade or can dedicate the entire weekend for this project, we are here with some tips that will assist you in bringing life back into every nook and cranny of your home!
Table of Contents
Why is Spring Cleaning Important?
Spring cleaning offers the perfect opportunity to refresh your home and check off all those pesky cleaning tasks you’ve been putting aside. No more lying in bed at night wondering when the last time was that you cleaned your mattress – use this season as a reminder to take care of it and banish any lingering guilt!
On top of that, a thorough deep clean once a year can prevent bigger issues such as mold taking over your grout. With this method you are able to effectively remove dust and dirt from areas that usually don’t see the vacuum nozzle.
As you complete the spring cleaning process, your home will be filled with a revitalizing atmosphere that is bound to bring peace and clarity to both your mind and body.
Spring cleaning isn’t just about tidying up the house – it’s an optimal time to check off those maintenance tasks you only need to do a few times annually.
By associating these jobs with spring cleaning, it becomes easier for you to recall them and ensure they get done in due course.
By taking care of small tasks such as polishing and sealing granite, you can not only extend your home’s lifespan but also maintain its aesthetic.
Additionally, there are other chores which must be completed for safety concerns, like cleaning out the dryer lint trap.
When Should You Start Spring Cleaning?

For a subjective answer, you should begin spring cleaning when the freshness of new beginnings begins to fill the air as warm afternoon breezes drift in.
When the urge to open your windows and uncover what’s been covered up for months strikes, you know it’s time for spring cleaning.
Fusing with the freshness that comes with the start of a new season will keep you grounded in an uplifting spirit of renewal, which will help propel you forward to cleanse your space with both focus and vigor.
Objectively, If you’re aiming to give your place a thorough spring cleaning, it’s best to free up an entire day or two in order to get the job done properly.
This weekend, take the time to show your home some love. Clear out your schedule and dedicate a few hours to give it the attention it deserves so that it can return the favor!
As much as you may be tempted to take your time with spring cleaning, condensing the project into a shorter timeframe not only maximizes efficiency but also culminates in that delightful feeling of freshly polished spaces.
So, don’t procrastinate – focus and get ready to enjoy that brilliant clean house!
6 Tips for How To Successfully Spring Clean

1. Clean Room by Room Throughout Your House
To deep clean your house effectively, break it down room by room. Making a cleaning list for every area is the perfect way to stay organized and remind yourself of sections that need extra care.
You can pass over spaces that have been recently tidied up and give more attention to those parts of your home which were overlooked throughout wintertime.
2. Organize and Clear the Clutter (Don’t Relocate That Clutter)
Spring cleaning can be a daunting task, especially when it comes to organizing and removing excess clutter. If you’re feeling overwhelmed, take a step back and devise a plan of attack!
Utilizing the four-step approach is incredibly helpful in this instance: first identify problem areas; then analyze why they’ve become cluttered; once that’s done determine possible solutions; lastly implement these steps for maximal success.
As you go through the spring-cleaning process, organizing your items into four categories—trash, giveaway, keep or put away—can prove to be fruitful.
Quickly eliminate all of the clutter by donating it to a charity or hosting a yard sale. Get rid of undesirable belongings right away and reap the rewards of cleaning your space!
3. Get the Whole Family Involved

This spring, turn cleaning into a family activity! Not only is it an effective way to get everyone involved in the chore process, but it can also be enjoyable – just put on some music as you work or even offer up a reward when everything’s done.
Plus, since there are age-appropriate tasks available for smaller children too, they’ll feel included and proud that they had their part in completing the job.
4. Tackle Seasonal Chores During Spring Cleaning
Take advantage of the warmer weather and get a head start on seasonal chores. Incorporate outdoor tasks like cleaning your patio, grill, and windows into your spring-cleaning routine as soon as you can. Additionally, pack up all winter clothing, bedding items and decorations to make space for lighter spring pieces that will help breathe new life into your home.
5. Keep Cleaning Supplies And Products to a Minimum
As you shop for cleaning supplies to get your home ready for spring, it’s essential that you keep the products to a minimum. To avoid clutter and real confusion when tidying up around the house, select just one all-purpose cleaner and microfiber cloths – these two items will cover most surfaces in your home.
For more specialized tasks like getting rid of tough spots or hard water stains, buy additional cleaners only if necessary.
6. Develop New New Cleaning Habits
Spring cleaning is an excellent way to set up a regular tidying routine that will make next year’s spring clean even simpler. Don’t try to do everything all at once, just devote 15 minutes every day and you’ll quickly establish the habit of keeping your home in order for 10-15 minutes per day!
This means that when it comes time for your annual deep clean, each job won’t seem so daunting; instead, it’s simply a continuation of what you already have been doing daily.
Things To Clean During Spring Cleaning

Here’s a list of things to concentrate on when sprucing up your home.
1. Wipe Down And Clean Walls
Ensure your walls are always spotless with a simple swipe of wet microfiber cloth. Move from top to bottom, and give yourself extra credit for wiping door frames and baseboards too!
Keeping them grease-free, dustless, and stain-free is so much easier than you thought!
2. Spray Down Windows, Dust Blinds, And Clean Panes
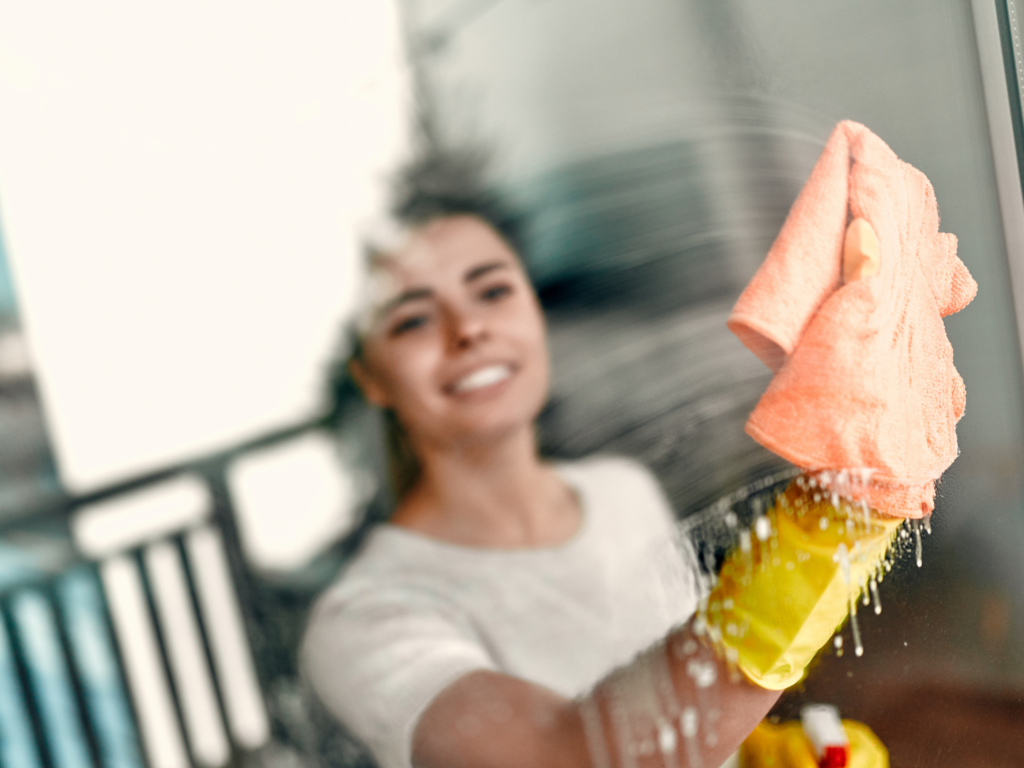
For streak-free windows, make sure to wait for an overcast day before beginning the cleaning process. On a hotter day, direct sunlight may create translucent streaks on your glass surfaces.
To start off, open blinds and shades to provide access to all window panes; then proceed with a combination of glass cleaner and microfiber cloths from left corner to right corner in one continuous motion across each side of the house.
When you’re finished wiping down the surfaces, lower them once again and dust curtains or drapes with feather dusters or vacuums as appropriate.
3. Clean your Front Doormats
Utilizing two mats, one indoors and another outdoors, will help to trap more dirt. To clean your outdoor mat simply hose it off and let air dry while indoor mats should be vacuumed on both sides; vacuuming the backside of the mat pushes out any dirt that has been compactly stuck into its fibers thus making it easier to pick up.
4. Deal With Stinky Sinks In The Kitchens
Struggling to get rid of a kitchen stench? Simply put lemon rind slivers into your disposal and run cold water afterwards. This will instantly freshen up any unpleasant smells!
5. Freshen up All Carpets
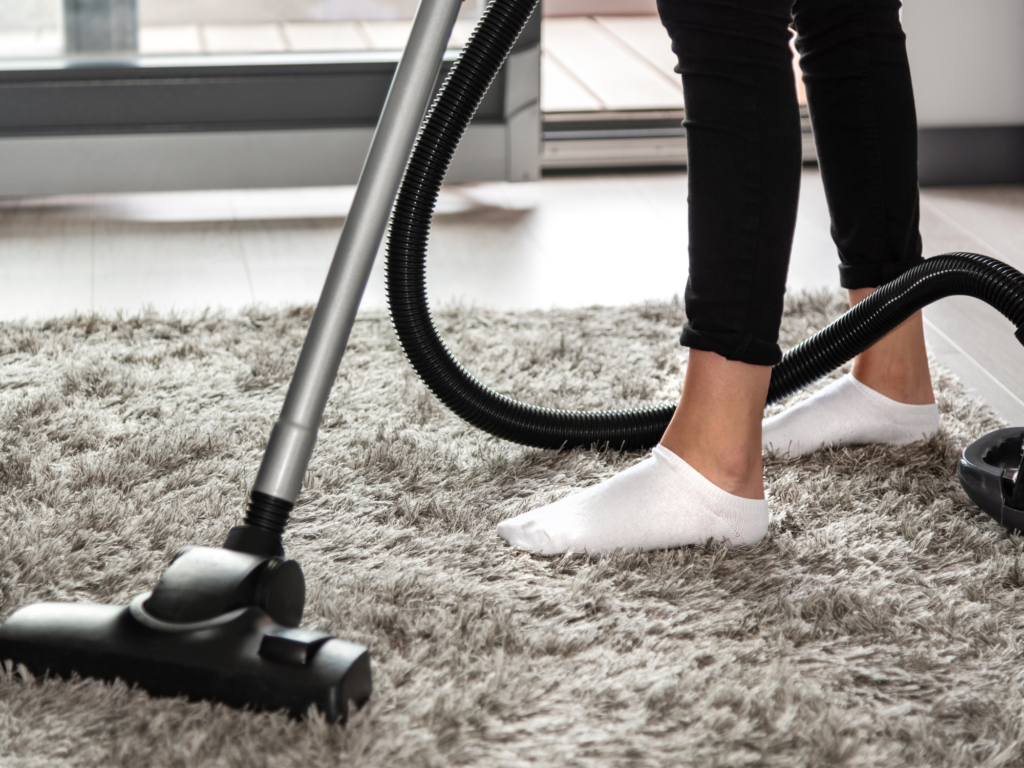
Revitalize your carpets in between deep cleanings with a portable carpet cleaner equipped with a spinning brush. If you’re looking to eliminate pet odors, spread baking soda or a carpet deodorizer over the area and work it into the fibers using a soft-bristled brush.
Allow this treatment to sit for 15-30 minutes before vacuuming up any residue with either an unused bag or empty filter canister.
6. Wash All Your Reusable Bags
Reusable grocery bags are a great way to reduce plastic consumption, but they can become dirty and unhygienic over time. Check the care label on your reusable bags for instructions on how best to clean them.
If machine-washing isn’t an option, take a sponge or cloth dipped in sudsy water and thoroughly wipe down each bag before rinsing with a clean cloth. Make sure you let it fully air dry afterwards so that all germs have been eliminated!
7. Deep Clean and Disinfect the Refrigerator

Frequently wiping down your fridge’s shelves will help keep it clean, but for a thorough deep-clean every now and then, take out the compartment bins and wash them with warm, soapy water to get rid of food particles and bacteria.
Doing this will ensure that your refrigerator is always in optimal condition.
8. Steam Clean And Disinfect The Microwave
Get rid of those pesky food stains for good! To clean your microwave, fill a large bowl with 1 cup of water and some chopped-up lemon, lime or orange pieces.
Alternatively, you can use several tablespoons of vinegar. Put the bowl inside the microwave and turn it on high until the solution boils and steam fills up the window.
Give it five minutes to cool off before opening again. Lastly, remove the bowl and wipe down both sides using a sponge – done!
9. Spot Shine And Scrub Pots And Pans
Cooking residue can be easily softened by adding some water and dish soap to your pot or pan, allowing it to simmer on the stovetop. Afterward, use a scrub sponge or pad for any remaining stuck-on bits.
Believe it or not, ketchup is also great at dissolving tarnish from copper cookware!
Simply massage the red sauce over its surface and add a pinch of salt if there are particularly hard spots that won’t budge.
10. Get Rid Of Stains On Cutting Boards
Believe it or not, that pesky mark doesn’t have to stay there! To get rid of food stains and odors from your cutting board, take a lemon cut side down on the surface. For even deeper cleaning power, add salt or baking soda first before using the lemon juice.
11. Reseal or Spruce up Granite Countertops
Revitalize your kitchen surfaces with the granitepolish to restore its lustre and prevent staining. For regular wipes, use Weiman Granite & Stone Daily Cleaner & Polish which is specifically designed for granite cleaning.
Its gentle solution eliminates grease and removes surface stains without leaving behind a dull film that commonly occurs when using dish soap! It also doesn’t contain any vinegar or ammonia, so it won’t harm your surfaces over time like other cleaners might.
12. De-Grease And Clean Your Oven

Spring clean your oven with ease! If you have access to a self-cleaning function on the appliance, activate it and watch as baked-on grime melts away.
But if not, don’t worry – just dampen a cloth in hot water and lay over burned spots for several minutes until softened. Afterwards, sprinkle baking powder onto stubborn areas followed by vigorous scrubbing with a heavy duty pad.
Finish up by rinsing off residue and wiping dry for sparkling results!
13. De-Gunk Kitchen Cabinets
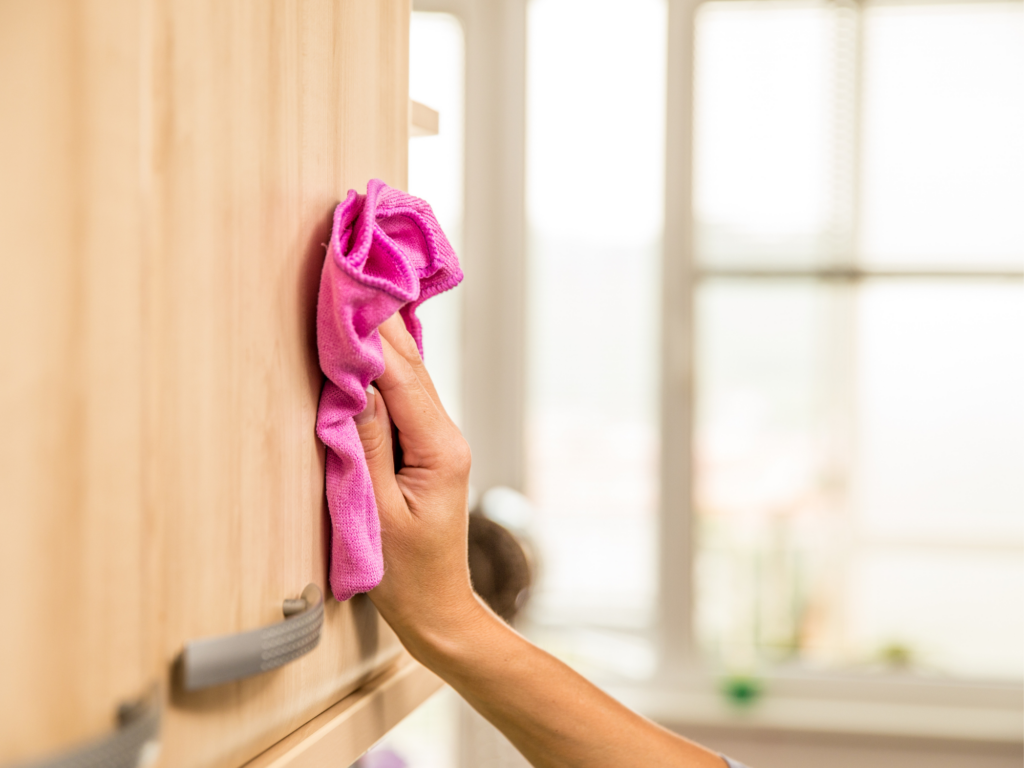
Greasy kitchen grime is a combination of dirt and oil that accumulates over time. Whenever you cook, run the overhead fan extractor to prevent grease from settling down.
To fully clean it up, apply cabinet cleaner on surfaces where it has been collecting for some time (like door and drawer pulls) as well as all around your range; this will break through dirt easily while leaving wood moisturized too!
14. Clean All Stainless Steel Appliances With A DIY Cleaner
To reinstate the shine of your stainless steel surface, mix a solution of 1 teaspoon dish detergent and one quart hot water. Use a microfiber cloth to scrub this concoction into those marks in small parts following the grain’s direction.
Subsequently, rinse it with clean hot water then immediately dry it off utilizing another fresh towel.
15. Get Rid Of Junk In The Junk Drawer
Once you have cleared out your drawer, use the nozzle of your vacuum to suck up any remaining dust and crumbs. Anything that is no longer necessary or belongs elsewhere should be thrown away or relocated.
All other items should then be placed back into the drawer in an organized manner – get creative by utilizing pretty plates and bowls to store cords, stamps and miscellaneous objects!
To ensure everything stays where it’s supposed to go, consider adding a non-slip liner for extra reinforcement.
16. Wash Your Shower Curtain
Revitalize your shower curtains and towels with a gentle cycle wash in the washing machine. Add your preferred laundry detergent to truly get those items squeaky clean!
Once done, hang it up to dry so you can enjoy refreshed fabric when taking a shower.
To keep these looking like new for longer periods, spritz them once or twice each month using an all-purpose cleaner containing bleach; simply let the rinse from the next shower take care of rinsing off any leftover residue before getting into tub (of course).
17. Brighten up And Clean Grout
White grout tends to attract almost anything, leaving it looking grimy and unkempt. To bring back its original shine, use a highly-ranked cleaner of your choice and let it sit for several minutes.
Subsequently, scrub with the Casabella Smart Scrub Grout Brush before rinsing off completely. You’ll be pleasantly surprised at how clean your grout will look!
18. Toss Old And Expired cosmetics
Declutter your beauty stash with ease by getting rid of expired makeup, skincare and hair products. While many items do not specify an expiration date, most note how long the product will last after opening.
To stay organized and up-to-date on expiry dates, use a permanent marker to write down when you opened it directly onto the container!
19. Clean Makeup Brushes And Make Applying Tools
To free your makeup brushes from oil-based foundation and concealer, drop a few drops of baby shampoo or Dawn dish soap in the palm of your hand. Work the suds into the bristles and rinse with warm running water.
Afterwards, shake off any excess liquid over the sink before laying it down on a paper towel to dry completely.
20. Freshen Drains Throughout Your House
To keep your drains flowing optimally, mix 1/2 cup of baking soda and 1/4 cup table salt together in a bowl. Pour the mixture into the drain followed by one cup of heated vinegar for an extra cleaning boost.
The reaction will foam and bubble – let it sit for no more than fifteen minutes before flushing with hot water from the tap for at least 15 to 30 seconds. This is especially helpful when dealing with seldom-used drains like those found in guest bathrooms!
21. Remove Hard Water Buildup On Shower Heads And Faucets
Have you noticed unsightly stains or a decrease in water pressure coming from your shower head? Even after scrubbing with a sponge, the debris won’t seem to go away.
Fortunately, here is an easy and effective solution: Combine equal amounts of white vinegar and water together inside of a plastic bag before attaching it securely around the showerhead so that it’s completely submerged.
Allow this mixture to sit for up to an hour before cleaning off any residue left behind. Finally, turn on your hot water faucet in order rinse out any remaining traces of vinegar! With just these simple steps, you can restore your shower head back its original functioning state!
22. Vacuum Furniture

To ensure a deep clean, pull your furniture away from walls and vacuum around it, as well as behind and under. After you’ve finished the woodwork and air vents in those hard-to-reach places, use an upholstery tool to thoroughly go over both sides of cushions and underneath them for any dirt or dust buildups.
To finish off with a sparkle don’t forget about crevice tools; they are ideal for getting rid of any gunk along trimming details or stitching.
23. Freshen Up Throw Pillows And Curtains In The Dryer
Make the most of your dryer and freshen up drapes, curtains and throws by running them through an air-only cycle for 15 minutes. Then simply hang or place back in position to prevent wrinkles!
24. Bring New Life To Bookshelves And Tables
After enjoying your wintertime reading, it’s time for a library refresh. Take some moments to organize the books and magazines on your coffee table, bedside table or favorite shelf.
Consider sorting them by alphabetically, hue or size – whatever works best for you! Don’t forget to dust off all surfaces before putting any items back into their rightful place.
25. Dust Those Hard To Reach Ceiling Fans And Fixtures

Get the most out of your Spring cleaning by tackling those hard-to-reach places. With an extendable duster, sweep away any dust and dirt from ceiling fans, hanging fixtures, recessed lights and more.
Start with these higher areas so you don’t have to vacuum your floors twice! Make sure no nook or cranny is left untouched for a thorough clean that will last through the year!
26. Replace HVAC Filters
The arrival of spring is the ideal occasion to spruce up HVAC and window air conditioner filters before you need them on a regular basis in summertime. To clean such filters, if they are washable, consult with your unit’s manufacturer for instructions.
Wrapping Up Deep Cleaning For Spring Tips And Tricks
I hope these spring cleaning tips and tricks will help get your home ready for the upcoming season! Remember to take it slow, and enjoy the process. Happy cleaning!